{"section":"tutorials","requestedLocale":"en","requestedSlug":"how-to-configure-the-fingerprint-device-for-stelo","locale":"en","slug":"how-to-configure-the-fingerprint-device-for-stelo","path":"docs/en/tutorials/payments/payment-settings/how-to-configure-the-fingerprint-device-for-stelo.md","branch":"main","content":"__Device Fingerprint__ is an identifier that acts in payment processing to improve fraud risk analysis. \n\nBy collecting non-sensitive data, Device Fingerprint identifies and analyzes the security level of the device used to perform a given transaction. It also analyzes transactions previously performed with that device.\n\n> ℹ️ Each store must have only one Device Fingerprint registered. Check if you have already registered the Device Fingerprint in another connector, before proceeding with the steps below.\n\nThis article will explain how to associate the Device Fingerprint feature with the Stelo affiliation.\n\n> ℹ️ The configurations documented in this article are done in an environment outside VTEX. They may therefore be out of date.\n\nTo enter the scripts that Stelo requires for the fingerprint device, you must use Google Tag Manager. To do this, log into your account at [http://www.google.com/tagmanager](http://www.google.com/tagmanager). Then proceed as follows:\n\n1. In the opening menu in Google Tag Manager, click on **Nova tag**.\n2. Select **Configuração da tag** and then type **HTML personalizado**.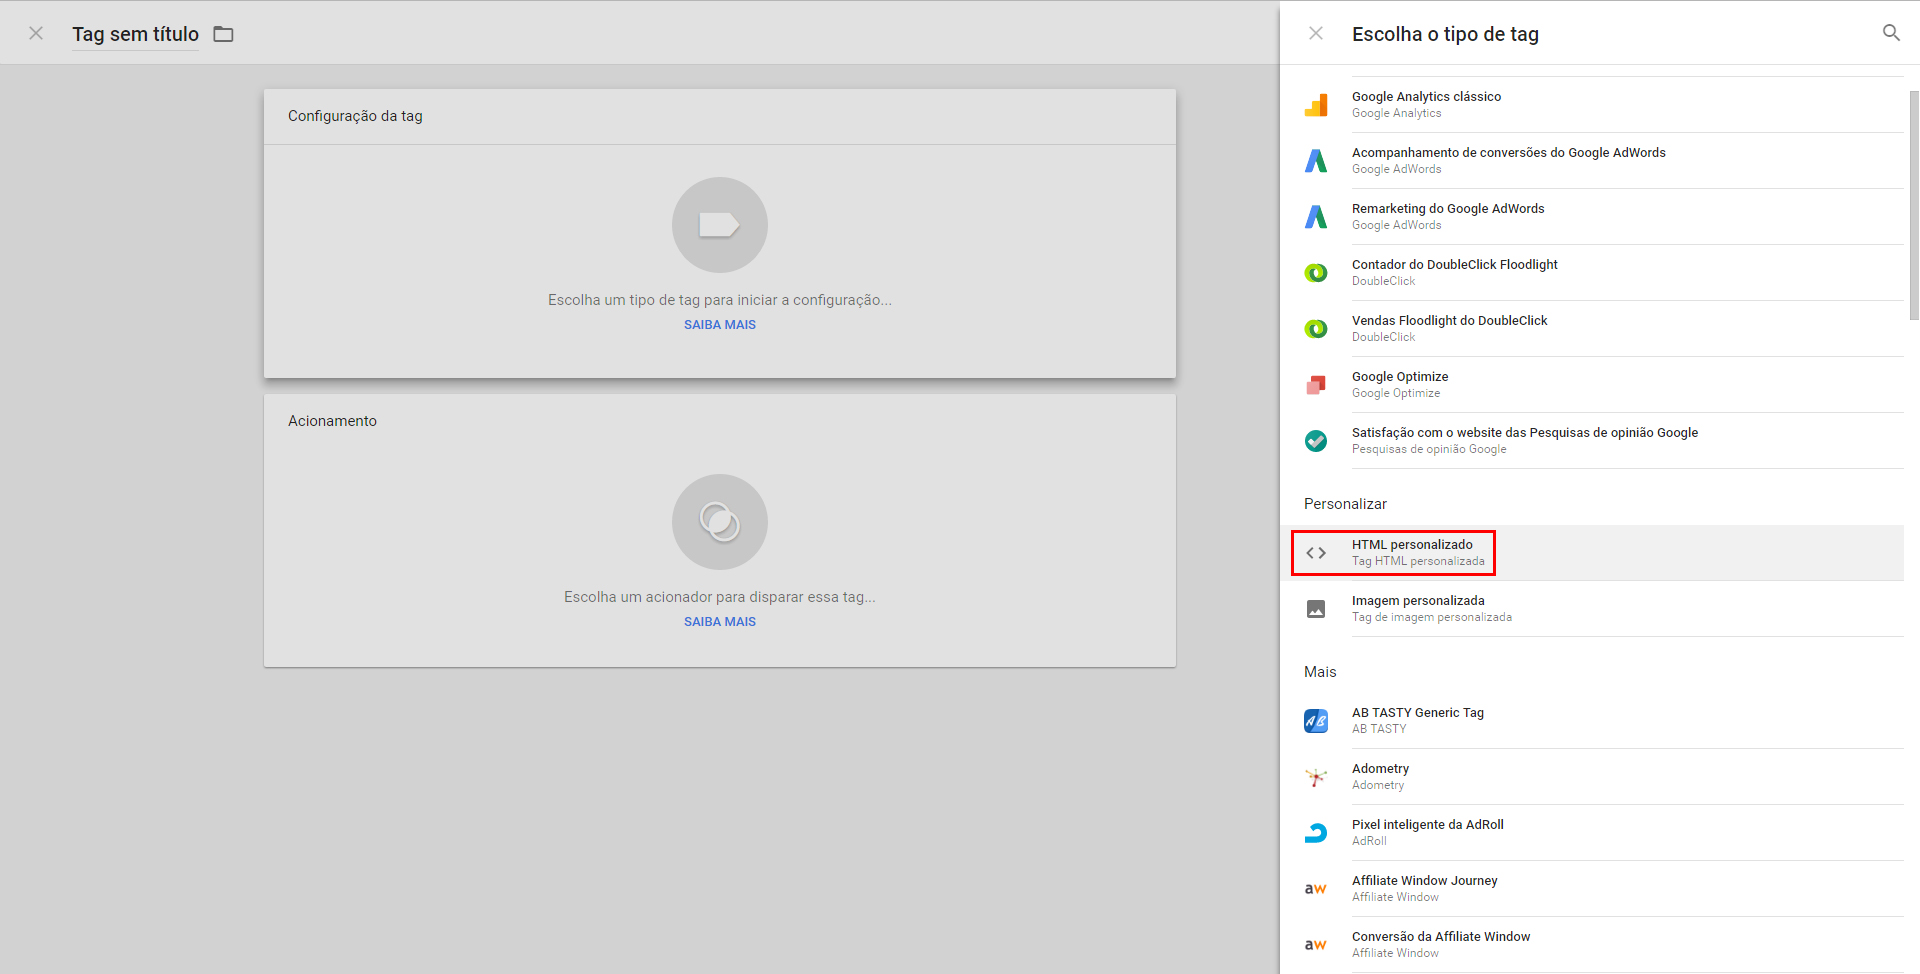\n3. Enter the following script:\n\n```\n\n\n```\n\n1. Click on **Acionamento**, Novo acionador (**+** symbol in the top right corner) and on **Configuração do acionador.**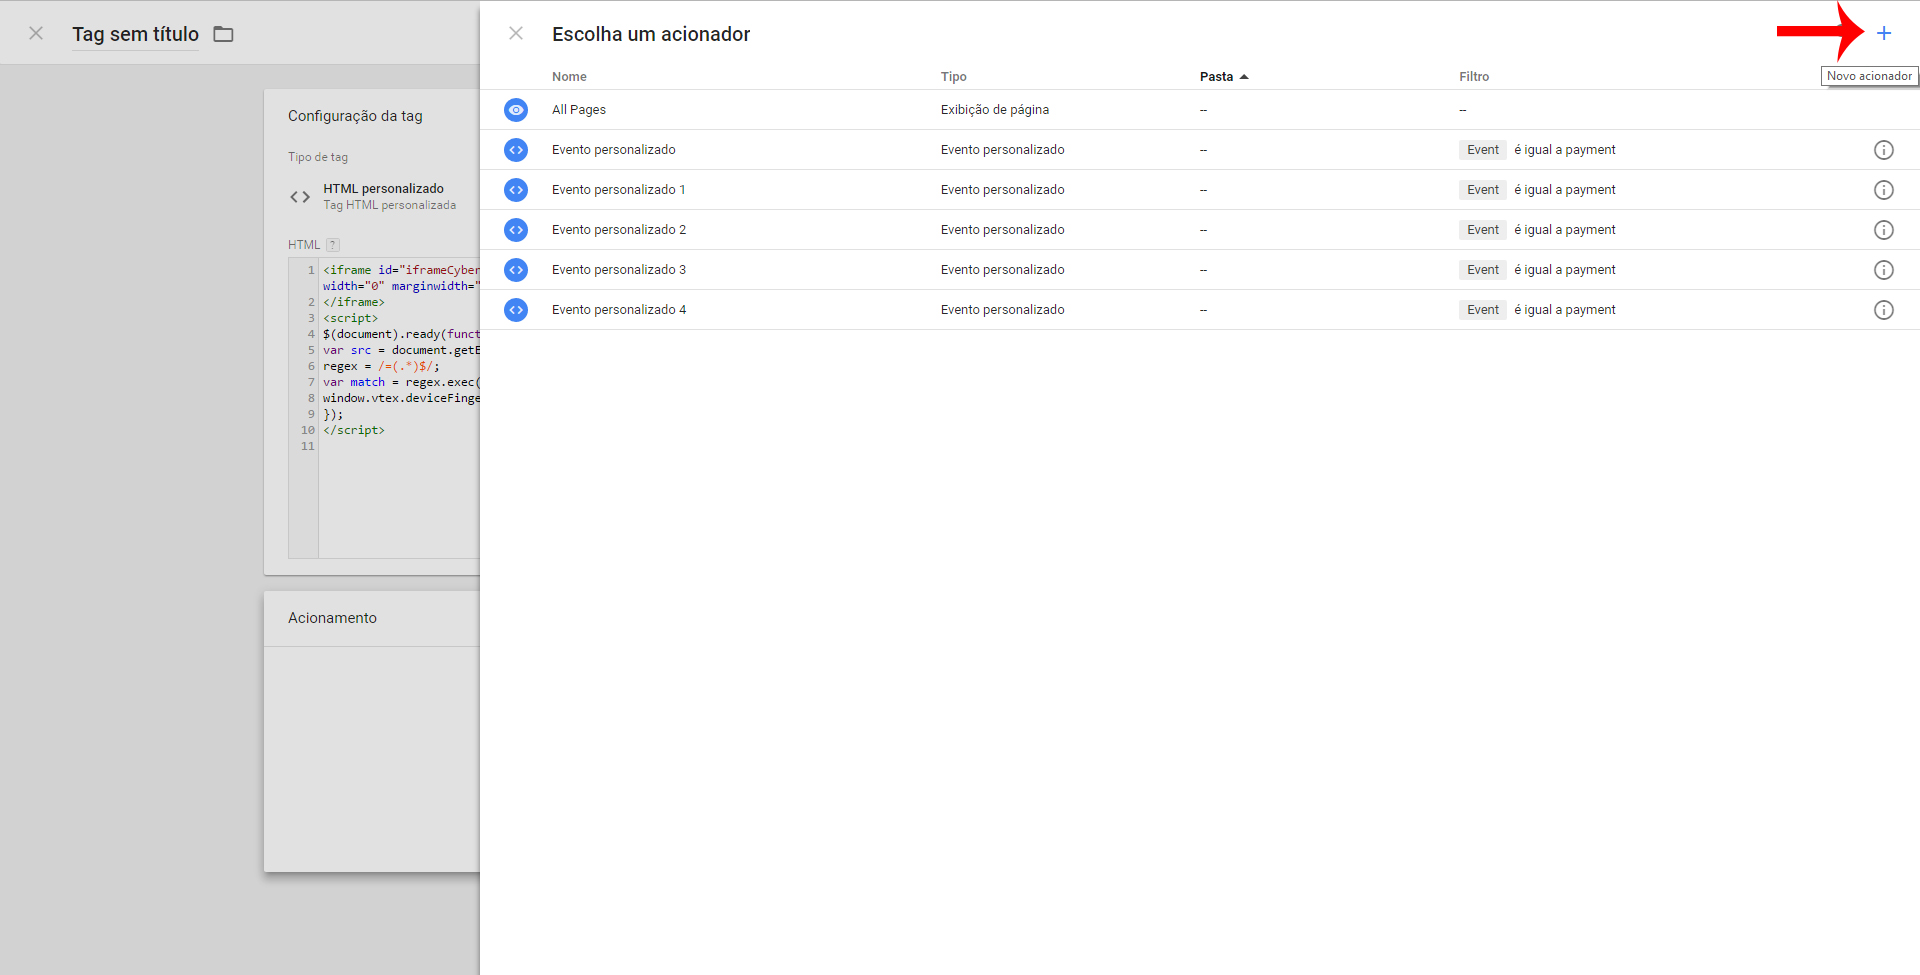\n2. Select **Evento personalizado** and enter the name **payment**.\n2. Select the flag **Alguns eventos personalizados**.\n3. In the first two boxes underneath, select: **Event** and **é igual a**. In the third one, type **payment**.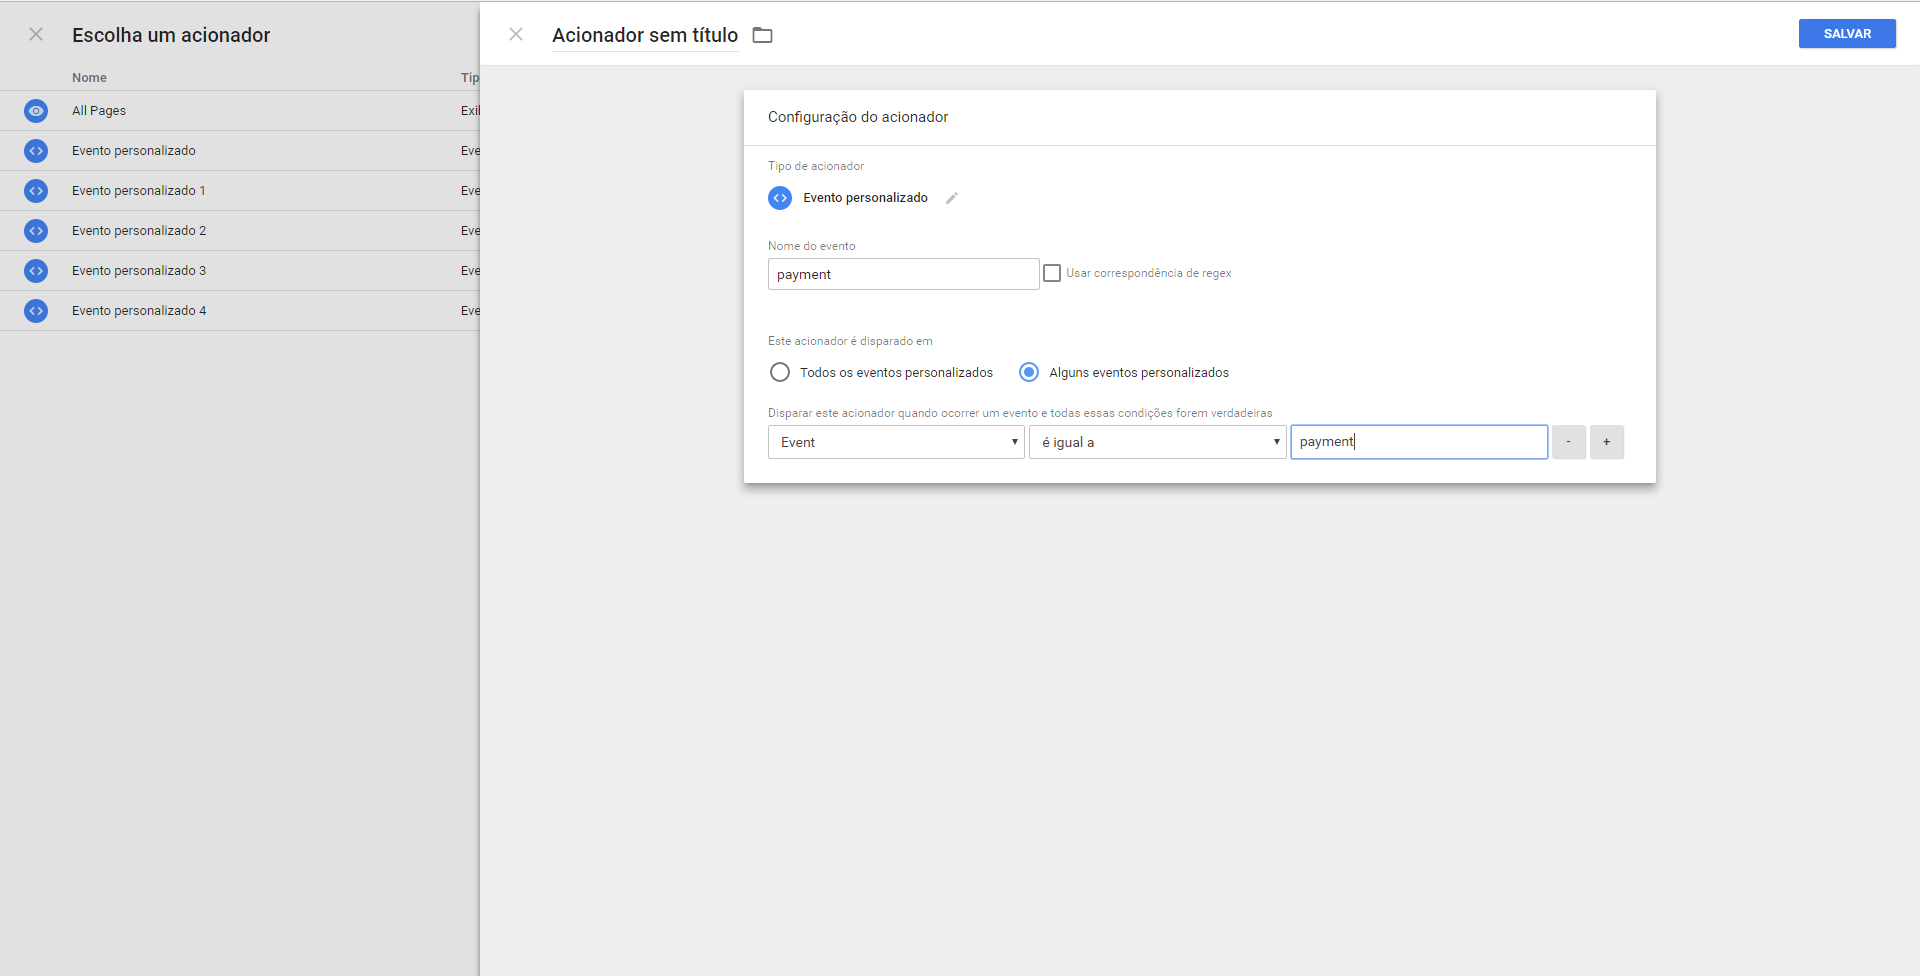\n4. Save the trigger and the tag.\n5. In the side menu, click on **Variáveis** and then **Nova**.\n6. Click on **Configuração da variável** and select **JavaScript personalizado**.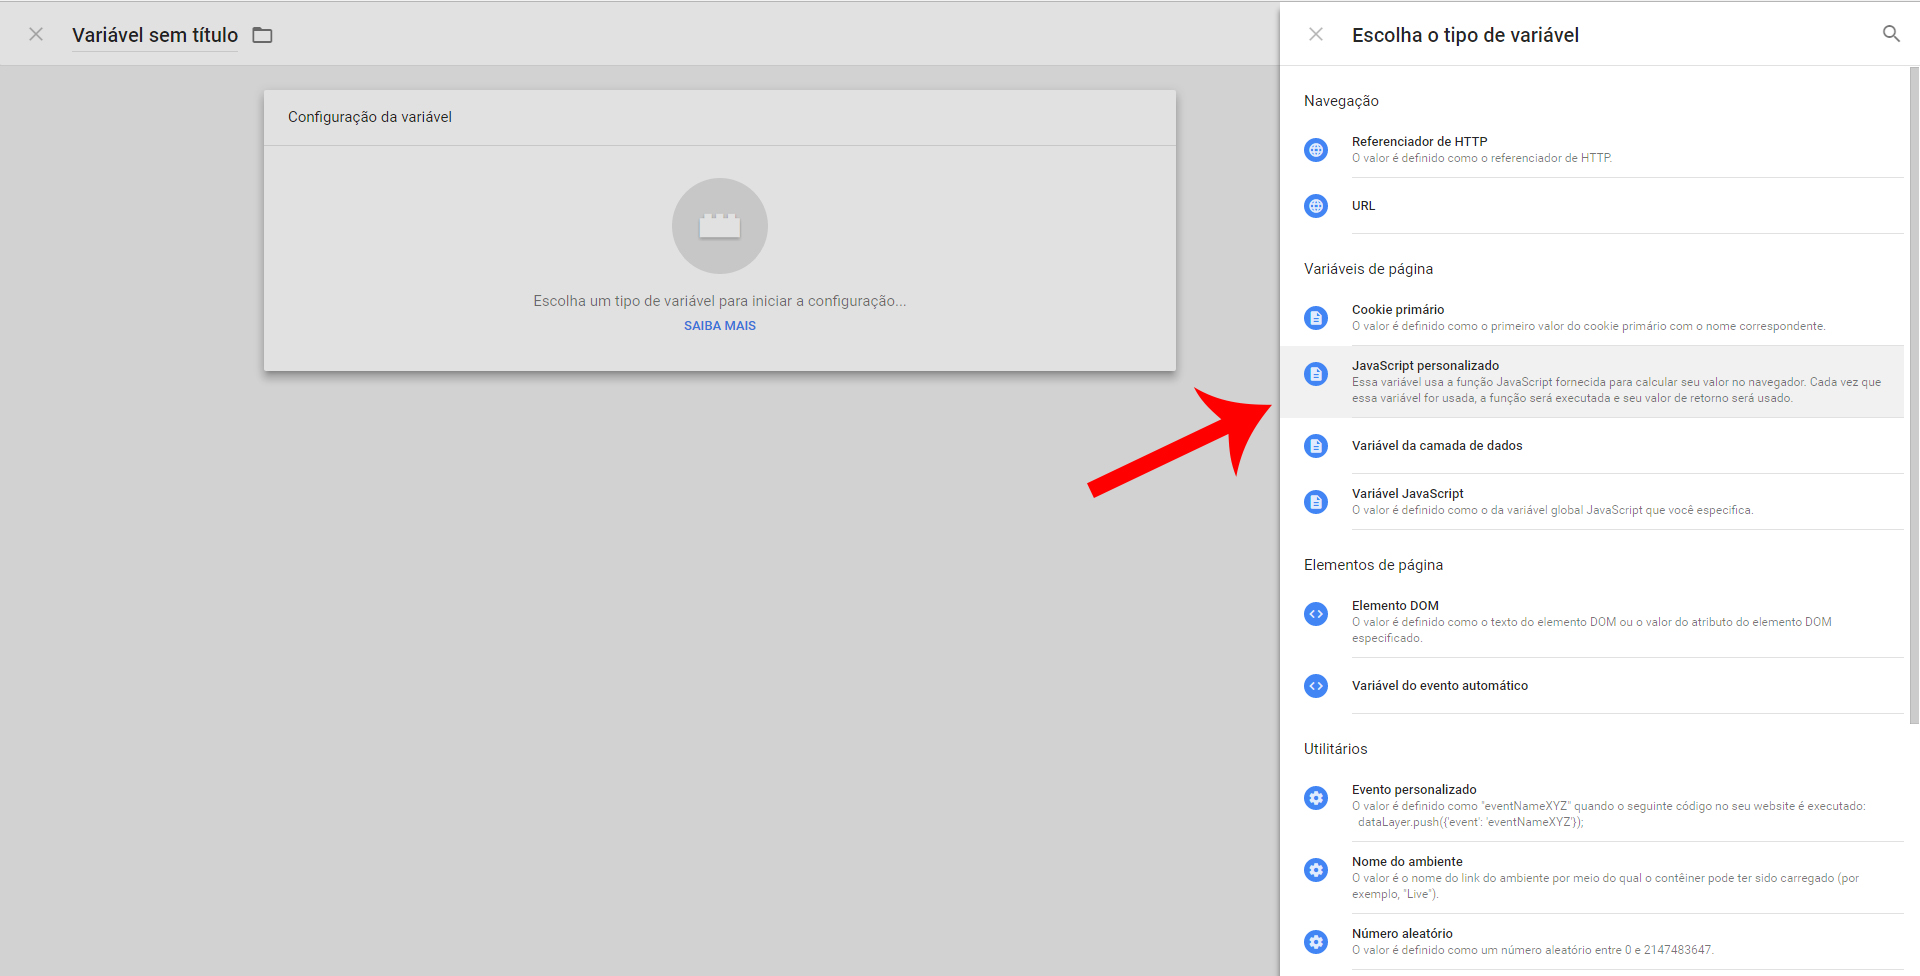\n\nEnter the following script:\n\n```\nfunction guid() {\n function s4() {\n return Math.floor((1 + Math.random()) * 0x10000)\n .toString(16)\n .substring(1);\n }\n return s4() + s4() + s4();\n}\n```\n\nSave the variable and click on **Publicar** for the changes to take effect."}