{"section":"tracks","requestedLocale":"en","requestedSlug":"using-bundle-studio","locale":"en","slug":"using-bundle-studio","path":"docs/en/tracks/omnichannel/vtex-live-shopping-getting-started/using-bundle-studio.md","branch":"main","content":"> ℹ️ If you want to use a studio other than Bundle, see [Using external studios](https://help.vtex.com/docs/tracks/optional-using-external-studios).\n\nThe VTEX broadcast studio is called **Bundle**. In this article, you’ll learn how to configure all the necessary settings in our native studio solution.\n\n## Stream method for Bundle\n\nTo access the native VTEX studio to stream your event, follow the steps below:\n\n1. In the VTEX Admin, go to **Apps > Live Shopping > Events**, or type **Events** in the search bar at the top of the page.\n2. Click the arrow button for the [event you created](https://help.vtex.com/en/docs/tracks/creating-event) to open the event configuration page.\n3. [Turn on](https://help.vtex.com/en/docs/tracks/turning-on-event) the event, by clicking the toggle switch `Turn On` at the top right.\n4. Select the `Stream` tab.\n5. On the **Stream method** page, in **Option 1 - Web Studio**, click `Open Web Studio`. You’ll be redirected to a new window on the **Device settings** page in Bundle. This option is restricted for administrators only.\n6. (Optional) If you want to have guests and hosts on your event, click `Copy invitation` and share the link with them. For security reasons, guest access to Bundle must be [approved by an administrator](#administrator-approval-for-guests-in-the-studio).\n\n## Administrator approval for guests in the Studio\n\nFor external people (such as influencers) to access the Studio, they must be approved by an administrator. That measure enhances security for the store and allows the merchant to have greater control over their event.\n\nFor allowing an external person access to Bundle, the steps are the following:\n\n1. The administrator shares the [Streaming Studio](#streaming-studio) invitation link with the guest.\n2. The guest uses the link to ask to join the studio. While waiting for the administrator’s approval, the guest will see an image like the one below:\n\n 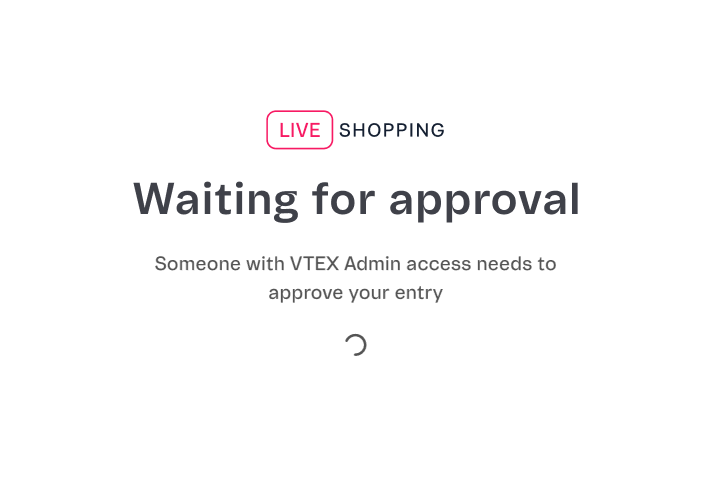\n\n3. In Bundle, the administrator sees the guest waiting for approval in the **My Studio** page:\n\n \n\n4. The Administrator can choose one of the options:\n * `Approve`: Allows the guest to join the Studio.\n * `Deny`: Denies the guest’s request to join.\n5. After the action, a confirmation message appears, respectively:\n * \\{Guest name\\} has been approved.\n * \\{Guest name\\} has been denied.\n\nIf the guest access is denied and they believe it was a mistake, they can immediately click `Try again` to reattempt:\n\n\n\nHowever, if their request is denied a second time, they must wait five minutes before trying again. They will see a countdown on the page:\n\n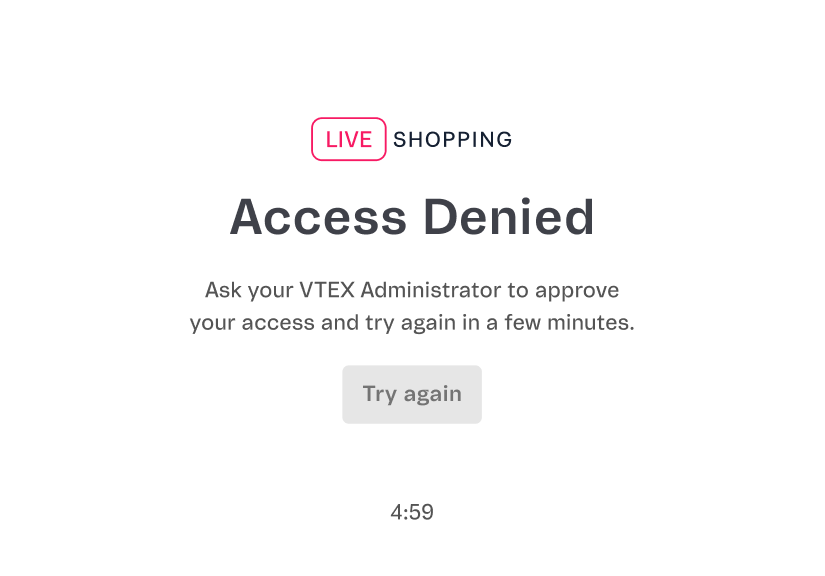\n\n## My Studio\n\nOn the **Device settings** page, when you click `Enter the studio`, you’re redirected to the **My Studio** page, as shown in the example below in portrait [layout type](/en/tracks/vtex-live-shopping-getting-started--3eCHNCIx8XhZOSmX0sQT3U/125yr6jAfwiiz84JP4ppfO#layout-type-configuring-the-style):\n\n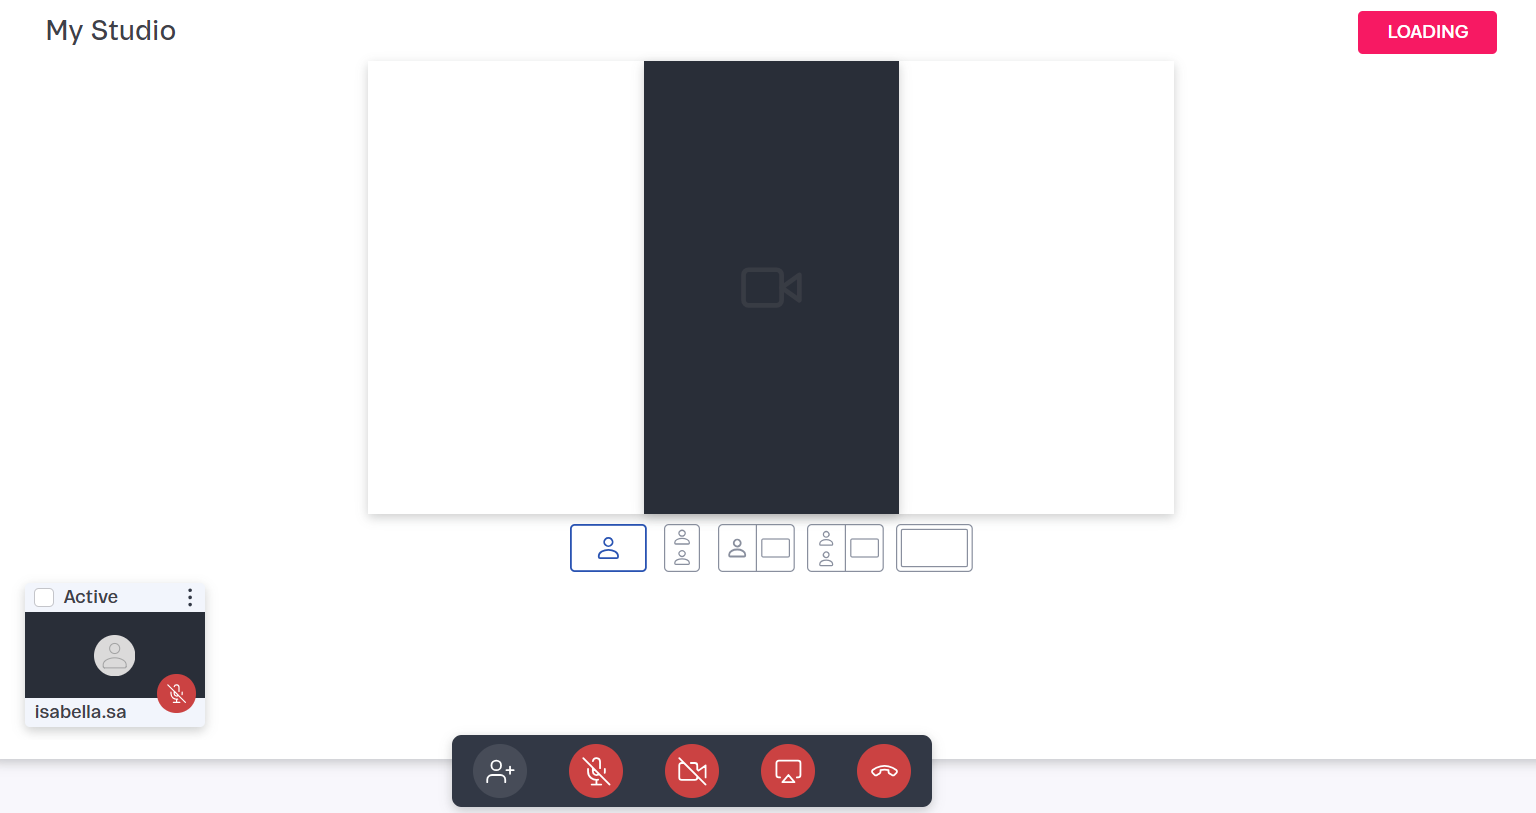\n\n> ⚠️ Before transmitting from Bundle, you must select the [layout type](/en/tracks/vtex-live-shopping-getting-started--3eCHNCIx8XhZOSmX0sQT3U/125yr6jAfwiiz84JP4ppfO#layout-type-configuring-the-style) you want for the screen. Once you are in the **My Studio** page, you can't change the event layout anymore. To change it, you would need to create a new event.\n\nThe left navigation menu has the following sections (administrators only, except for Chat private):\n\n* [My Studio](#my-studio)\n* [My assets](#my-assets)\n* [My destinations](#my-destinations)\n* [Chat private](#chat-private)\n* [Settings](#settings)\n\nIn the **My Studio** menu option, numbers 1 through 5 indicate the settings that can be used by guests and administrators, while numbers 6 through 9 are reserved for administrators only:\n\n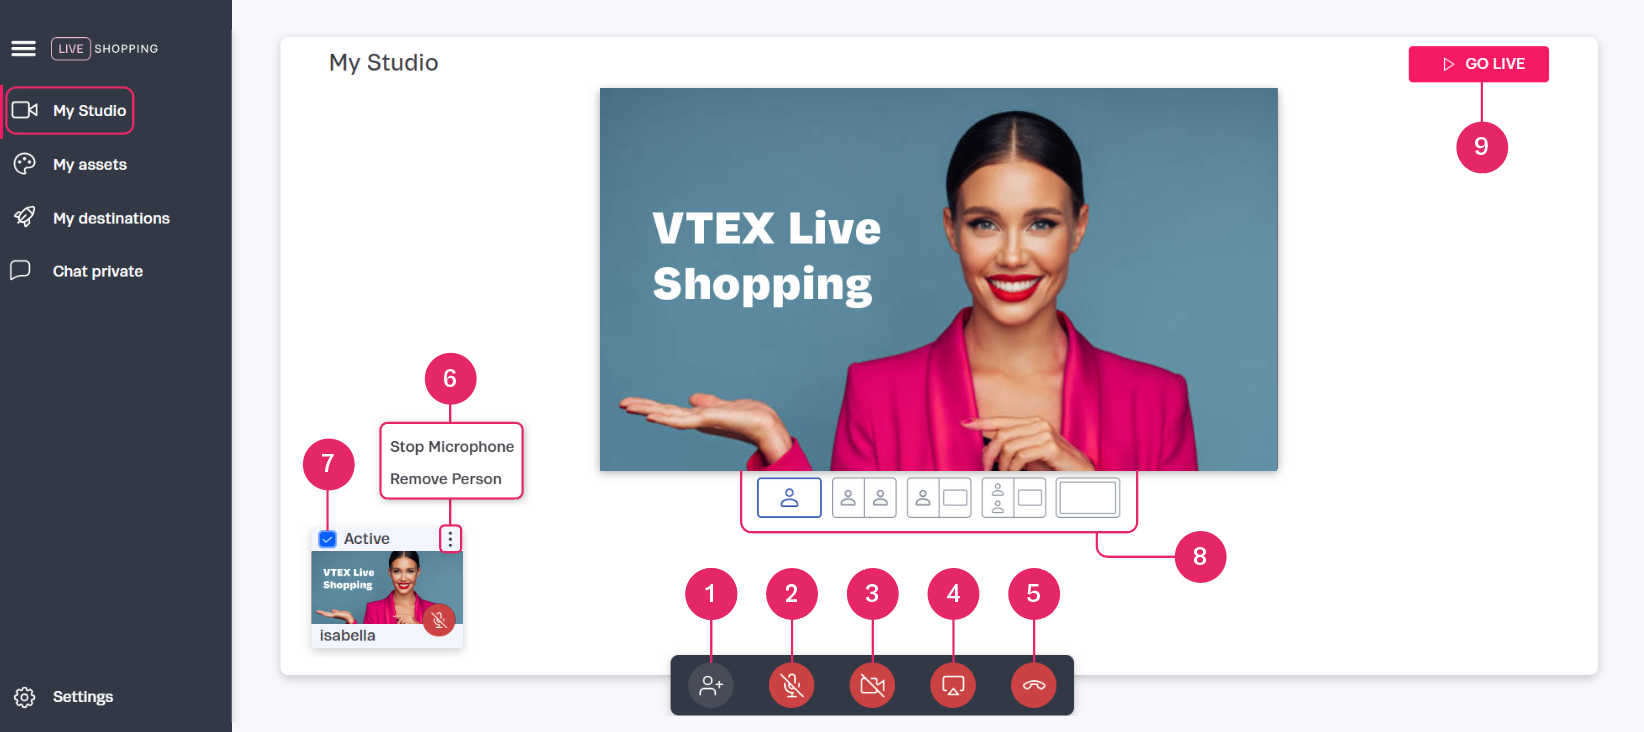\n\n### Guest and administrator settings\n\n* **1. Invite people:** Generates the same shareable link that is generated when you click `Copy invitation` in the [Streaming Studio](#streaming-studio) section. This link can be shared with influencers and hosts.\n* **2. Activate/deactivate microphone:** Controls your own microphone settings.\n* **3. Activate/deactivate camera:** Turns your own camera on and off.\n* **4. Share screen:** Allows the host (including guests/influencers) to share their screen and choose the window or screen they want to display.\n* **5. End meeting:** Opens two options to end the broadcast — one that ends the event for everyone and removes all participants from the studio, and another where only the user leaves the meeting. Learn more in the [Ending the transmission](/en/tracks/vtex-live-shopping-getting-started--3eCHNCIx8XhZOSmX0sQT3U/69PX90vv4oDWQ34nnBkiQt#ending-the-transmission) section.\n\n### Administrator-only settings\n\n* **6. Manage users:** The vertical ellipsis menu options allow you to mute someone's microphone or remove them or a device from Bundle studio. The `Active` box selects the person being displayed on the live stream.\n* **7. Activate/deactivate connected devices/host:** When the `Active` checkbox is marked, it allows the device or participant to be visible or audible in the live stream. The microphone icon indicates who has their microphone currently on (blue) or off (red).\n* **8. Screen composition:** Shows the available screen options to arrange participants and devices. Different options work better for different scenarios depending on the number of participants and devices in the transmission.\n* **9. Go live:** Starts and stops broadcasting the event to the public.\n\n## My assets\n\nIn the **Assets** menu option, you can create and manage your live stream assets as explained in the following sections:\n\n* [Asset types](#asset-types)\n* [Asset dimensions](#asset-dimensions)\n* [Adding an asset](#adding-an-asset)\n* [Removing an asset](#removing-an-asset)\n\n### Asset types\n\nThe asset types are the following:\n\n* **Banners:** Create the text and choose the background color for the banner, which will always display at the bottom of the stream. You can choose whether it moves or remains pinned on screen.\n* **Overlay:** Select an image to overlay on top of the camera or a graphic asset, except over videos. This allows the background or host to remain visible at all times.\n* **Background:** Choose an image format for the broadcast background. The background is always visible, unless a video is playing in the broadcast or the participant camera feed is activated and added to the transmission.\n* **Video:** Upload a video to enhance the broadcast and overlay it on top of cameras or graphic assets.\n* **Logo:** Place an image of your logo on the top right side, overlaying it over any camera or graphic asset, except over the video.\n\nAlso, there’s a **Show display names** option. When you log into Bundle, you complete the **Name** field. The name can be displayed on the live stream by enabling this setting.\n\nThe name will show in white letters against a dark background and can’t be changed. However, you can customize the initial stripe color, as it’s the same as **Banners > Theme Color**. Creating a banner isn’t necessary to activate this option, you only have to define the theme color, which is black by default. The image below is an example of a pink **Theme Color**:\n\n\n  \n\n### Asset dimensions\n\nThe table below describes the format and limit for each type of asset on Bundle studio, depending on the [layout](/en/tracks/vtex-live-shopping-getting-started--3eCHNCIx8XhZOSmX0sQT3U/125yr6jAfwiiz84JP4ppfO#layout-type-configuring-the-style) settings:\n\n| **Asset type** | **General information** | **Landscape view - Horizontal (16:9)** | **Portrait view - Vertical (9:16)** |\n| :---: | :--- | :---: | :---: |\n| Banners | You can customize the following aspects of banners:
- Color
- Text
- Pinned or scrolling
| Equal | Equal |\n| Overlay | **Size limit:** 20 MB / **Extensions:** png | **File size:** 1280 x 720 pixels | **File size:** 720 x 1280 pixels |\n| Background | **Size limit:** 20 MB / **Extensions:** png, jpg, jpeg | **File size:** 1280 x 720 pixels | **File size:** 720 x 1280 pixels |\n| Video | **Size limit:** 200 MB / **Extensions:** mov, webm, mp4 | **File size:** 1280 x 720 pixels | **File size:** 720 x 1280 pixels |\n| Logo | **File size:** 200 x 200 pixels / **Extensions:** png | Equal | Equal |\n\n### Adding an asset\n\nTo add an asset, follow the steps below:\n\n1. On the desired asset option, click the `+` icon.\n2. Click to browse for the file.\n3. Select the file corresponding to the asset type format.\n\nAfter that, the following confirmation message will display: *\"The asset was saved with success\"*.\n\n> ℹ️ Every new asset added into your logged environment in Bundle studio is saved for future live streams and events.\n\n### Removing an asset\n\nTo remove an asset, follow the steps below:\n\n1. Go to the desired asset section.\n2. Click the `x` icon in the top right corner of the asset.\n3. On the **\"Are you sure you want to delete this asset?\"** modal, click **Delete**.\n\n## My destinations\n\nIn the **My destinations** menu option, you can connect to other platforms to transmit the same live stream on multiple channels, such as YouTube, Facebook, and other VTEX accounts.\n\n> ❗ Destinations must be configured before clicking **Go live**. Once you start broadcasting, you can't connect to other platforms. You would have to create a new event to do so.\n\n### Connecting to other VTEX accounts\n\nTo connect different VTEX accounts for the same event transmission, each account must follow the steps below. In this example, Account A will be the administrator and Account B, the participant:\n\n**Account A:**\n\n1. [Create](/en/docs/tracks/creating-event) an event.\n2. On the **Events** page, click the event arrow button to go to the **Event Information** page.\n3. [Turn on](/en/docs/tracks/turning-on-event) the event.\n4. In the [Streaming Studio](#streaming-studio) section, click `Access`.\n5. Log in to Bundle studio.\n6. Click `Enter the studio`.\n7. In the **My destinations** menu option, click `Create destination`.\n8. In the **Create destinations** window, complete the fields as shown below:\n * **Server:** Enter the **Inbound server** value given by Account B.\n * **Server Key:** Enter the **Server key** value given by Account B.\n * **Platform:** Select `VTEX`.\n9. Click `Add destination`.\n\nThe following confirmation message will be displayed, *\"A new destination has been added.\"* After a few moments, you’ll see the message *\"Ready to stream!\"*, indicating that the accounts are connected and can both go to **My Studio >** `Go live`.\n\n**Account B:**\n\n1. [Create](/en/docs/tracks/creating-event) the event.\n2. On the **Events** page, click the event arrow button to go to the **Event Information** page.\n3. [Turn on](/en/docs/tracks/turning-on-event) the event.\n4. In the [Details](/en/tracks/vtex-live-shopping-getting-started--3eCHNCIx8XhZOSmX0sQT3U/6NrWRLAJEHijcd6tLIWoqq#event-details) section, copy the **Inbound server** and **Server key** information and give them to the account you want to connect to, which is Account A in this case.\n\n### Connecting to YouTube\n\nTo broadcast your event on YouTube, follow the steps below:\n\n1. Create a live event on YouTube. You can check this [documentation](https://support.google.com/youtube/answer/2474026?hl=en-GB&ref_topic=9257984&sjid=17602134671820533599-SA).\n2. Copy the event stream key.\n3. On Bundle, right before clicking `Go live`, go to the **My destinations** menu option.\n4. Click `Create destination`.\n5. In the **Create destinations** window, complete the **Server** and **Server Key** fields with the YouTube event keys.\n6. In the **Platform** field, select YouTube.\n7. Click `Add destination`.\n\nOnce you start the live stream, all the content shown on Bundle is going to be automatically streamed on YouTube.\n\n> ❗ These destinations must be configured before clicking **Go Live**.\n\n### Connecting to Facebook\n\nTo broadcast your event on Facebook, you must follow almost the same steps as when [connecting to YouTube](#connecting-to-youtube). The difference is that you have to provide [new Facebook event keys](https://www.facebook.com/business/help/184100780068012), and select `Facebook` as the **Platform** when creating the destination.\n\nAfter adding the Facebook destination and once you start the live stream, all the content shown on Bundle is automatically streamed on Facebook.\n\n## Chat private\n\nIn the **Chat private** menu option, there’s a chat for internal communication between the administrator and the other participants presenting the event. This private chat exchanges real-time questions during the transmission, and is useful for internal organization.\n\n## Settings\n\nOn the left bottom corner of the menu, you can find the **Settings** option. When you click it, you’ll see the camera and audio settings, which can be adjusted before or during the transmission. Configuring the **Settings** is available for both the administrator and participants hosting the event."}