{"section":"tutorials","requestedLocale":"en","requestedSlug":"setting-up-cybersource-gateway","locale":"en","slug":"setting-up-cybersource-gateway","path":"docs/en/tutorials/payments/payment-settings/setting-up-cybersource-gateway.md","branch":"main","content":"CyberSource is a company that offers several solutions to help manage payments in your store. Among them are a [gateway](/en/docs/tutorials/what-is-a-payment-gateway) and [anti-fraud](/en/docs/tutorials/what-is-anti-fraud), both with integrations available at VTEX.\n\nIf you want more information about integrating Cybersource anti-fraud into your store, go to [Setting up CyberSource anti-fraud](/en/docs/tutorials/setting-up-cybersource-antifraud).\n\nTo use the Cybersource IO gateway in your store, the following actions are required:\n\n1. [Install Cybersource IO applications (VTEX IO CLI)](#installing-cybersource-io-apps)\n2. [Create authentication keys in Cybersource (Cybersource environment)](#creating-authentication-keys-in-cybersource)\n3. [Perform Cybersource app settings (Admin VTEX)](#setting-up-cybersource-io-app)\n4. [Configure Cybersource gateway (Admin VTEX)](#setting-up-cybersource-gateway)\n5. [Configure payment conditions (Admin VTEX)](#setting-up-payment-condition)\n6. [Configurar o Device Fingerprint (opcional)](#setting-up-cybersource-io-device-fingerprint-optional)\n7. [Configure merchant fields (optional)](#setting-up-merchant-fields-optional)\n\n## Installing Cybersource IO apps\n\nThe following Cybersource apps must be installed in your store account:\n\n- __vtex.cybersource-ui__\n- __vtex.cybersource__\n- __vtex.cybersource-payer-auth__\n\n> ⚠️ If you intend to use Cybersource's anti-fraud system, but want to transact payments on a non-Cybersource gateway, you will need to install the **vtex.cybersource-fraud** app.\n\nLearn more about installing applications on a VTEX account in [Installing an app](https://developers.vtex.com/docs/guides/vtex-io-documentation-installing-an-app). \n\n## Creating authentication keys in Cybersource \n\nAfter installing the apps, you must create authentication keys in the Cybersource environment.\n\n> ⚠️ Settings configured in an environment external to VTEX may be discontinued or modified without prior notice. Please check your Cybersource account for the latest information.\n\nFollow the steps below:\n\n1. Access [Cybersource's EBC panel](https://businesscenter.cybersource.com/ebc2/) (Enterprise Business Center) with your data.\n2. In the side navigation menu, select __Payment Configuration > Key Management__.\n3. Click __Generate Key__.\n4. In __REST APIs__, select the __REST - Shared Secret__ option.\n5. Click __Generate Key__.\n6. Click __Download key__ or copy the key information using the copy function located in front of the __Key__ and __Shared Secret__ fields.\n\n## Setting up Cybersource IO app\n\nOnce you have obtained the available authentication keys, it is time to configure the Cybersource IO app in the Admin. \n\n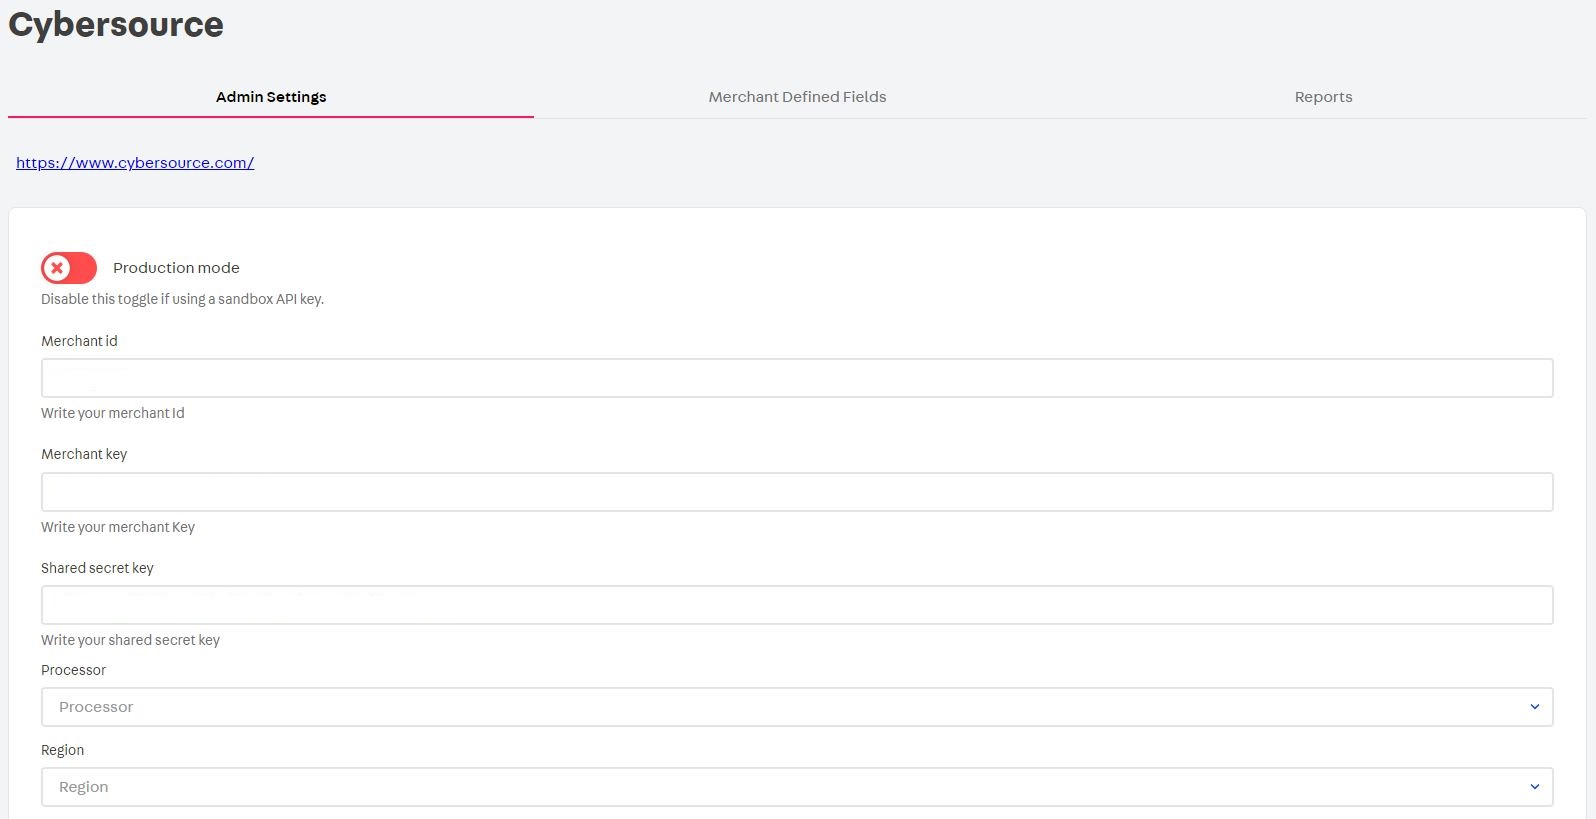\n\nFollow the steps below to configure the Cybersource IO app:\n\n1. In the VTEX Admin, go to __Apps > Installed Apps > Cybersource__, or type __Cybersource__ in the search bar at the top of the page.\n2. On the __Admin Settings__ tab, fill in or select the fields below:\n
\n\n
\n \t- **Merchant id**: Your merchant ID at Cybersource.
\n \t- **Merchant key** and **Shared secret key**: The two keys obtained in the Cybersource environment.
\n - **Processor**: Select the company that will process the payment, or click **Other** if it is not on the list.
\n \t- **Region**: Select one of the regions or click **Other** if the desired region is not in the list.
\n \t- **Reference Suffix (optional)**: By default, orders in the Cybersource system will be associated with the VTEX order group ID, but this setting can be used to append a suffix such as \"-01\".
\n \t- **Custom NSU (optional)**: Replace default NSU with custom value.
\n \t- **Use Order Id For Device Fingerprint**: Select whether you want to use the order ID instead of the session ID for device fingerprinting.
\n \t- **Enable Tax Calculations**: Select whether you want to use Cybersource at checkout as your tax calculation provider.
\n \t- **Enable transaction posting**: Select whether to enable posting completed transactions for tax reporting issues.
\n \t- **Sales Channels to Exclude from Cybersource (optional)**: Enter any sales channel where you do not want to use Cybersource transactions.
\n \t- **Shipping Product Code (optional)**: Enter a product code for shipping tax calculation purposes.
\n \t- **Tax Nexus Regions (optional)**: Enter a list of regions where taxes must be collected.
\n
\n3. Click __Save settings__.\n\n## Setting up Cybersource gateway\n\nTo configure the Cybersource gateway, follow the steps below:\n\n1. In the VTEX Admin, go to __Store Settings > Payment > Providers__, or type __Providers__ in the search bar at the top of the page.\n2. On the provider's screen, click the `New Provider` button.\n3. Type __Cybersource IO__ in the search bar and click on the provider's name.\n4. In __Provider Authorization__, it is not necessary to fill in the __App key__ and __App token__ fields.\n5. If you wish to modify the identification name to be displayed for the Cybersource gateway on the VTEX Admin screen, enter the information in the __Name__ field in __Basic Information__.\n6. In __Payment Control__, select whether you want to activate the provider in a test environment by clicking __Enable test mode__.\n7. In the __Automatic settlement__ field, select one of the following options:\n
\n\n
\n \t- **Use behavior recommended by the payment processor**: Capture is not automatic, but scheduled to be carried out after 4 days (or if the order is invoiced, whichever comes first).
\n \t- **Automatic capture immediately after payment authorization**: Capture is automatically performed right after payment authorization, even if the transaction includes an anti-fraud analysis.
\n \t\t- **Automatic capture immediately after anti-fraud analysis**: Capture is automatically performed right after payment authorization and anti-fraud analysis. If you select this behavior and do not have anti-fraud analysis, the system will perform the payment capture as in \"Automatic capture immediately after payment authorization\".
\n \t\t- **Disabled**: Capture takes place only when the order is invoiced. If you select this behavior, it is important to pay attention to the invoicing time, as invoicing can exceed the capture time agreed with the payment provider and lead to the cancellation of the transaction.
\n
\n8. In __Provider fields__, fill in or select the fields below:\n\n
\n \t- **Company Name**: Name of the company.
\n - **Company Tax id**: Identification number of the company.
\n - **Capture Setting**: select **Delayed Capture** to follow the standard VTEX platform procedure (separate calls for authentication and capture) or **Immediate Capture**, where a single authentication and capture call will be sent to CyberSource when the order is made.
\n \t- **Payer Authentication**: If you wish to enable this option, [3-D Secure Payer Authentication da Cybersource](https://www.cybersource.com/en/solutions/fraud-and-risk-management/payer-authentication-for-3d-secure.html) must be used.
\n \t- **Capture Delay** and **Capture Delay Interval**: Determine the period before automatic capture.
\n \t- **Using Decision Manager**: Select whether [CyberSource Decision Manager](https://www.cybersource.com/apac/en/solutions/fraud-and-risk-management/decision-manager.html) will be active on your account.
\n - **Authorized Payments Flagged by Decision Manager**: When the status is Authorized, Fraud Reject, select the following options:
\n - **Treat as Successful Authorizations**: Accept the order.
\n - **Treat as Failed Authorizations**: Deny the order.
\n - **Treat as Pending Authorizations**: Hold the order pending a final decision.
\n
\n9. The __Merchant Id__, __Merchant Key__ and __Shared Secret Key__ fields must be left blank, as the values defined in step 2 of the section [Configurando o app Cybersource IO](#setting-up-cybersource-io-app) will be used. If the fields are filled in with a value, they will overwrite the information entered in step 2.\n10. Click __Save__.\n\n## Setting up payment condition\n\nTo process credit card payments through Cybersource, follow the steps below:\n\n1. In the VTEX Admin, go to __Store Settings > Payment > Settings__ or type __Settings__ in the search bar at the top of the page.\n2. In the __Payment Conditions__ tab, click on the + button.\n3. Click on the name of the desired credit card.\n4. Fill the __Condition name__ field with a name of your choice for identification.\n5. Activate the condition in the __Status__ field.\n6. In __Process with provider__ select the __Cybersource - IO__ option.\n7. If you want to use an anti-fraud system, select the __Use anti-fraud solution__ option and choose your preferred provider.\n8. If you wish, you can also [configure special payment conditions](/en/docs/tutorials/special-conditions).\n9. Click __Save__.\n\n> ⚠️ If you have previously created credit card payment conditions for other gateways (including the legacy Cybersource provider), you can set those conditions to **Inactive**. In-progress transactions initiated from that provider will still be processed by that provider, even if it is inactive. Only new transactions will be processed by the new Cybersource IO provider. If you need to revert to your previous provider for any reason, simply set their payment conditions to **Active** and the Cybersource IO payment conditions to **Inactive**.\n\n## Setting up Cybersource IO Device Fingerprint (optional)\n\nDevice Fingerprint is an identifier that acts in payment processing to improve fraud risk analysis. \n\nBy collecting non-sensitive data, Device Fingerprint identifies and analyzes the security level of the device used to perform a given transaction. It also analyzes transactions previously performed with that device.\n\n> ℹ️ Each store must have only one Device Fingerprint registered. Check if you have already registered the Device Fingerprint in another connector, before proceeding with the steps below.\n\nTo configure Cybersource IO Device Fingerprint, follow the steps below:\n\n1. In the VTEX Admin, go to __Store Settings > Storefront > Checkout__, or type __Checkout__ in the search bar at the top of the page.\n2. Click on the icon of the desired website.\n3. In the blue options menu located at the top of the page, click on __Chode__.\n4. In __Files__, click __checkout5.custom.js__.\n5. Enter the code below into the text field and click `Save`.\n\n```\nfunction addsDeviceFingerPrint() {\n if (!window.vtex) return;\n if (window.vtex.deviceFingerprint) return;\n $.ajax({\n type: 'get',\n async: true,\n url: rootPath() + '/api/sessions?items=*'\n }).then(function(response) {\n var ORG_ID = \"{{ORG_ID}}\";\n var MERCHANT_ID = \"{{MERCHANT_ID}}\";\n console.log('session', response);\n window.vtex.deviceFingerprint = response.id;\n var sessionId = response.id || \"CYBERSOURCE\";\n var script = document.createElement(\"script\");\n script.type = \"text/javascript\";\n script.src = `https://h.online-metrix.net/fp/tags.js?org_id=$\\{ORG_ID\\}&session_id=$\\{MERCHANT_ID\\}$\\{sessionId\\}`;\n document.head.appendChild(script);\n var noScript = document.createElement(\"noscript\");\n var iframe = document.createElement(\"iframe\");\n iframe.style = \"width: 100px; height: 100px; border: 0; position: absolute; top: -5000px;\";\n iframe.src = `https://h.online-metrix.net/fp/tags?org_id=$\\{ORG_ID\\}&session_id=$\\{MERCHANT_ID\\}$\\{sessionId\\}`;\n noScript.appendChild(iframe);\n document.body.appendChild(noScript);\n })\n}\n```\n\n## Setting up merchant fields (optional)\n\nAdditionally, you can define custom fields that will be included in orders forwarded from VTEX to Cybersource. \n\n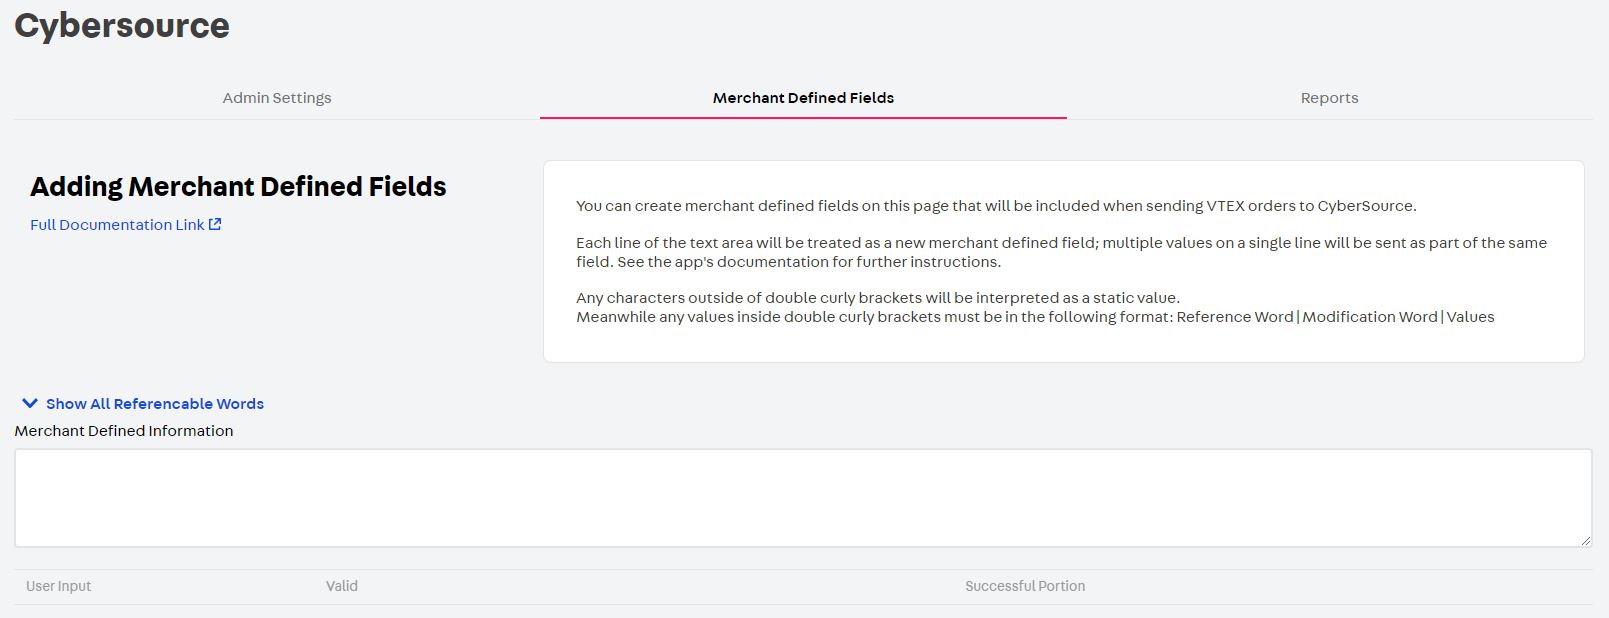\n\nSee below how to create these fields:\n\n1. In the VTEX Admin, go to __Aplicativos > Installed Apps > Cybersource__, or type __Cybersource__ in the search bar at the top of the page.\n2. On the __Merchant Defined Fields__ tab, under __Merchant Defined Information__, you can insert fields following the following rules:\n\n
\n \t- Any values outside the keys **\\{\\{\\}\\}** will be considered as a direct value.
\n - Any values between **\\{\\{\\}\\}** must be in the following format *Reference Word|Modification Word|Values*.
\n - All **reference words** can be found in the **Show all referenceable words** drop-down menu:
\n - **Reference words** can be left blank if the **Modification Word** and **Values** are present.
\n - The **reference word** is case sensitive.
\n \t- **Modification words** must be **Pad**, **Date**, **Trim**, **Age**, or **Equals**. See below the characteristics when registering each of them:
\n - **Pad**: The **Values** must be in the format **desired length:fill character**.
\n - The **filled character** must be a unique value. For example, *9:x* will result in a desired length of 9, and will fill gaps with x.
\n - If the field value exceeds the **desired length**, the field will be trimmed.
\n
\n - **Date**: **Values** must be in the format dd/MM/yyyy or any combination thereof.
\n - **M** for month must be capitalized. This format can be ordered as desired, such as **yyyy/MM** or **yyyy** or **dd/yyyy/MM**.
\n - **Trim**: Will limit the maximum length of the field value without adding padding characters.
\n - **Age**: Will return the difference between the current date and the field value using Timespan format.
\n - **Equals**: Will return the boolean value of a string comparison between the field value and the comparison value.
\n
\n \t- Each new line is considered a new field defined by the merchant.
\n\nExamples:\n\n| Value entered in Admin under `Merchant Defined Information` | Simulated scenario | Result |\n| ---------- | ---------- | ---------- |\n| `969{{Reference|PAD|9:0}}` | When `Reference` is 6023 | 969602300000 |\n| `{{OrderId}}-01` | Where `OrderId` is 124578 | 124578-01 |\n| `{{MiniCart.Buyer.LastName}},{{MiniCart.Buyer.FirstName}}` | Where Buyer is John Doe | Doe,John |"}